

Fixing a Leaky Faucet
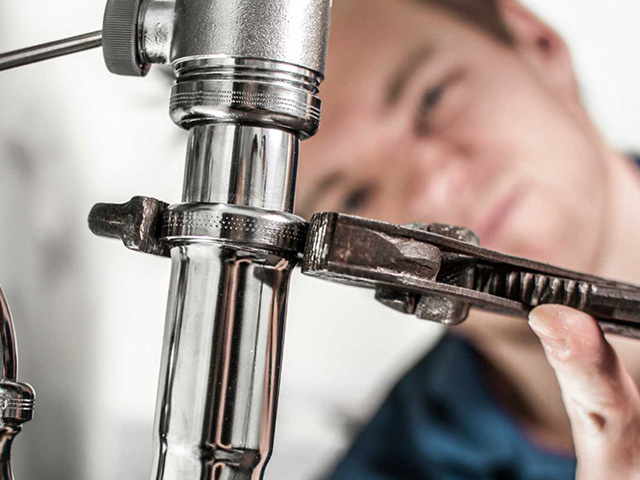
A dripping faucet wastes water and can really test anyone’s patience. That steady drip not only breaks the calm but also sneaks up and hikes your water bill. The good news is fixing that leak doesn’t require a plumber—it’s something anyone can do by following easy steps. Get ready to learn how to stop the drip, save money, and bring peace back to your home without any fuss. Keep reading to discover simple tricks that make fixing a faucet quick and painless.
Understanding the Basics
Before diving into the fixing process, it’s crucial to understand the basic components of a faucet. The most common types are compression, ball, cartridge, and ceramic disk faucets. Each type has its unique design, and the method of fixing may vary. Identify the type of faucet you have before proceeding.
Tools You’ll Need
Gather the necessary tools before you start the repair process. You’ll likely need an adjustable wrench, screwdrivers, pliers, and a bucket for water drainage. Having the right tools on hand will streamline the process and ensure you don’t have to make multiple trips to the hardware store.
Step-by-Step Guide
1. Turn Off the Water Supply
Before you begin any repairs, turn off the water supply to the faucet. You can usually find shut-off valves beneath the sink. If there are no specific shut-off valves for the sink, you may need to turn off the main water supply to your home.
2. Plug the Drain
To avoid losing small parts down the drain, plug it with a cloth or stopper. This simple step can save you from the frustration of fishing out tiny components later.
3. Dismantle the Faucet
Carefully disassemble the faucet, keeping track of the order in which you remove each component. Take note of the placement of washers, nuts, and screws, as this will be crucial when reassembling the faucet. If you are searching for the best plumbing contractors, please visit their page to learn more.
4. Identify the Problem
Examine the internal components for any signs of damage or wear. Common issues include worn-out washers, O-rings, or damaged valve seats. Identifying the specific problem will guide you in selecting the right replacement parts.
5. Replace Faulty Parts
Once you’ve identified the problem, replace the faulty parts with new ones. Most hardware stores carry kits that include all the necessary components for a quick and easy fix.

6. Reassemble the Faucet
Carefully reassemble the faucet in the reverse order of disassembly. Make sure all components are properly aligned and tightened. This step requires attention to detail to ensure a leak-free result.
7. Turn On the Water Supply
After reassembly, slowly turn on the water supply and check for any leaks. If everything is in order, your faucet should now be drip-free.
Preventive Measures
To avoid future leaks, consider these preventive measures:
- Regularly check for and replace worn-out washers and O-rings.
- Avoid over-tightening handles, as this can cause damage to internal components.
- Invest in a high-quality faucet to reduce the likelihood of issues.
By following this comprehensive guide, you can fix a leaky faucet and regain control over your home’s water usage. Remember, a small drip today can lead to significant water wastage over time.